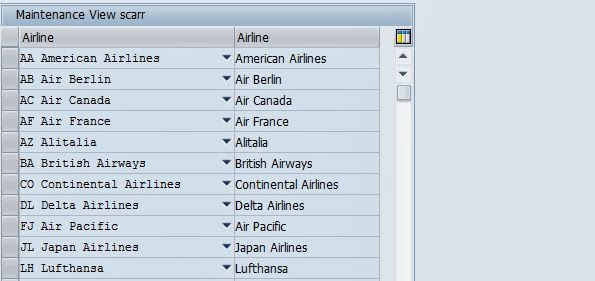
Scenario : Text table is a table that contains all the primary key fields of the main table along with language field(SPRAS). The text table contains a text field for the description in different languages.
The cardinality of is 1:N with respect to the main table. That means for a single record in the main table there can be N number of records in the text table.
Step1. Go to SE11.

Step2. Provide the main table name and click on create button.

Step3. Provide the delivery class details. Save it and click on Technical settings button.

Step4. Provide the details, save it and click on the back button.

Step5. Provide some field and activate the table.

Step6. Click on the highlighted path to display the Text Table of it.

Step7. A message is displayed as highlighted below.

Step8. Now Go to SE11 to create the Text table.
Step9. Provide the text table name and click on Create button.

Step10. Provide the details, save it and click on Technical settings button.

Step11. Provide the details, save it and click on the back button.

Step12. Maintain the key fields properly with the SPRAS(language) field and activate the table.

Step13. Now select the MANDT field and click on the Foreign Key button.

Step14. Teh system automatically ask for the confirmation. Press YES to continue.

Step15. The system automatically proposes the check table as T000. just click on the COPY button .

Step16. Now select the SPRAS field and click on the Foreign Key button as highlighted.

Step17. Press YES to continue.

Step18. The system automatically proposes T002 table as the check table. Just press COPY button.

Step19. Now select the ID line and click on the foreign key button.

Step20. The system automatically opens a popup screen without check table details.

Step21. Now put the table ZCOUNTRY as the check table and click on generate proposal button.
Select the Foreign key field type as KEY FIELDS OF A TEXT TABLE. Provide cardinality as 1:N and at last click on COPY button.

Step22. Activate the Text table.

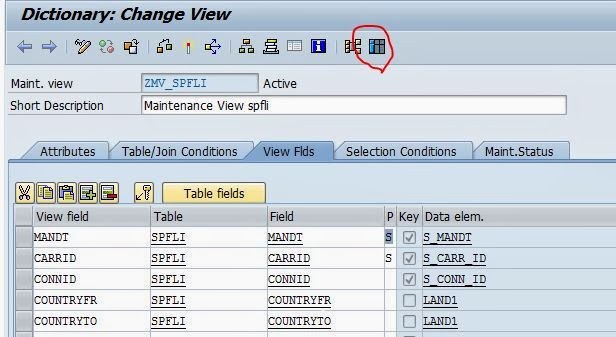
Step23. Now go to the Main table ZCOUNTRY. Click on the menu Goto and press text table.

Step24. It navigates to the text table ZCOUNTRY_TXT.

_______________________________________________________________________________
The cardinality of is 1:N with respect to the main table. That means for a single record in the main table there can be N number of records in the text table.
Step1. Go to SE11.
Step2. Provide the main table name and click on create button.
Step3. Provide the delivery class details. Save it and click on Technical settings button.
Step4. Provide the details, save it and click on the back button.
Step5. Provide some field and activate the table.
Step6. Click on the highlighted path to display the Text Table of it.
Step7. A message is displayed as highlighted below.
Step8. Now Go to SE11 to create the Text table.
Step9. Provide the text table name and click on Create button.
Step10. Provide the details, save it and click on Technical settings button.
Step11. Provide the details, save it and click on the back button.
Step12. Maintain the key fields properly with the SPRAS(language) field and activate the table.
Step13. Now select the MANDT field and click on the Foreign Key button.
Step14. Teh system automatically ask for the confirmation. Press YES to continue.
Step15. The system automatically proposes the check table as T000. just click on the COPY button .
Step16. Now select the SPRAS field and click on the Foreign Key button as highlighted.
Step17. Press YES to continue.
Step18. The system automatically proposes T002 table as the check table. Just press COPY button.
Step19. Now select the ID line and click on the foreign key button.
Step20. The system automatically opens a popup screen without check table details.
Step21. Now put the table ZCOUNTRY as the check table and click on generate proposal button.
Select the Foreign key field type as KEY FIELDS OF A TEXT TABLE. Provide cardinality as 1:N and at last click on COPY button.
Step22. Activate the Text table.
Step23. Now go to the Main table ZCOUNTRY. Click on the menu Goto and press text table.
Step24. It navigates to the text table ZCOUNTRY_TXT.
_______________________________________________________________________________