-----------------------------------------------------------------------------------
We need a FPM application Which Enables us to provide some search parameter and on basis of that some result records are populated in the list like below.
Provide some search criteria & Press Enter or Click on the Search Button, then result list is filled with dependent records.

This is a FPM OVP ( Over View Page) Application, which embeds Search UIBB and List UIBB.

1. Search UIBB- Search Structure, Search Feeder class
2. List UIBB- List Table type, List Feeder Clss Feeder Class
3. Application Controller CLass
---------------------------------------------------------------------------------------------------------------------------------
Step1. Our Search application tries to get the details from the VBRK table.

Step3. Here we have the structure that will provide the search fields.

Step4. Here we have the table type which will provide the table structure.

Step5. Display List fields.

Step6. Application controller class which implements the interface IF_FPM_APP_CONTROLLER.

Step7. Go to the individual methods and activate each one. At last activate the class.

Step8. Here we have the SE24 class- called as the feeder class for the search UIBB implementing the required interface.

Step9. Activate each method and activate the class.

Step10. Here we have the SE24 class- called as the feeder class for the list UIBB implementing the required interface.

Step11. Activate each method and activate the class.

Step12. Now we have to create a component configuration for search UIBB. Go to Tx- SE80 and open the Web dynpro component: FPM_SEARCH_UIBB. Right click on the Component configuration and Create.

Step13. The below screen appears.

Provide the Configuration ID name and click on Enter key. As it is not created, Click on NEW button to create.

Step14. Provide the Description and OK.

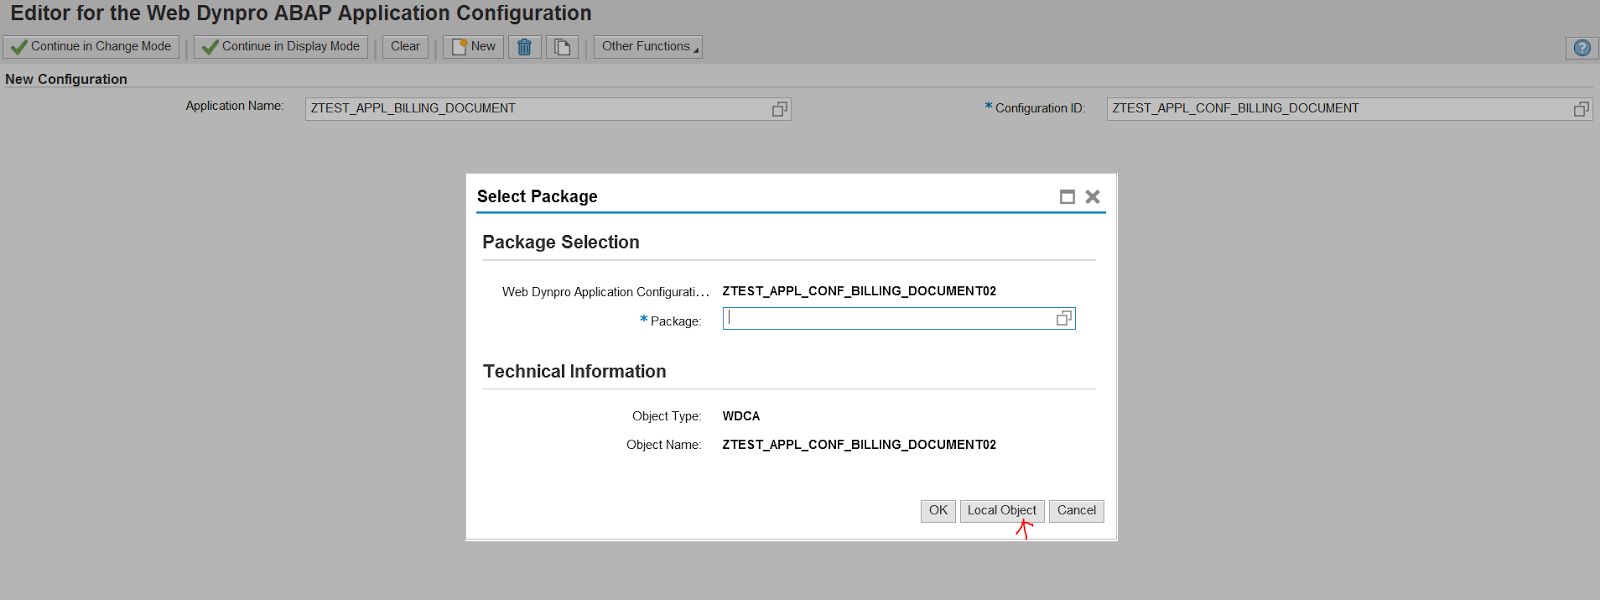
Step15. Save in Local Object.

Step16. So here it will ask for the Feeder class.

Step17. Provide the above created Feeder class name and click on the button Edit Parameters.

Step18. Click on OK.

Step19. Save it.

Step20. So the below message appears. Currently we don't have any search fields are available. Close the screen.

Step21. Go to the Search related feeder class we have created . Open the Method GET_DEFINITION method.

Step22. Provide the below code which will use the previously created Search Structure. Activate the method.

Step23. Go to SE80, Open FPM_SEARCH_UIBB, Go to our previously created Component configuration. Double click on the Component Configuration and click on the Display Configuration.

Step24. So here we have the search fields are available. Click on Edit button.
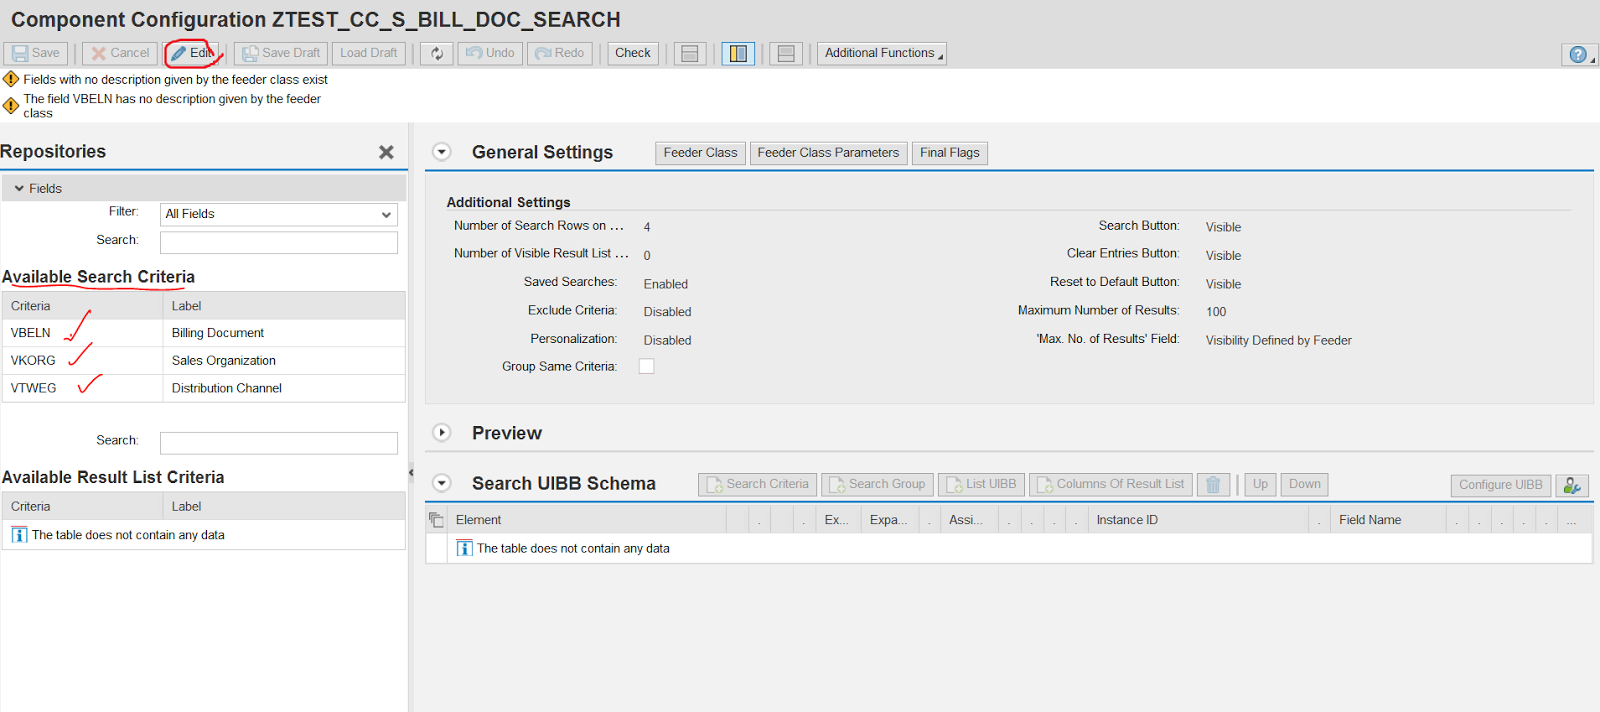
Step25. Click on the Search Criteria button.
Step26. Select all the fields and click on OK button.

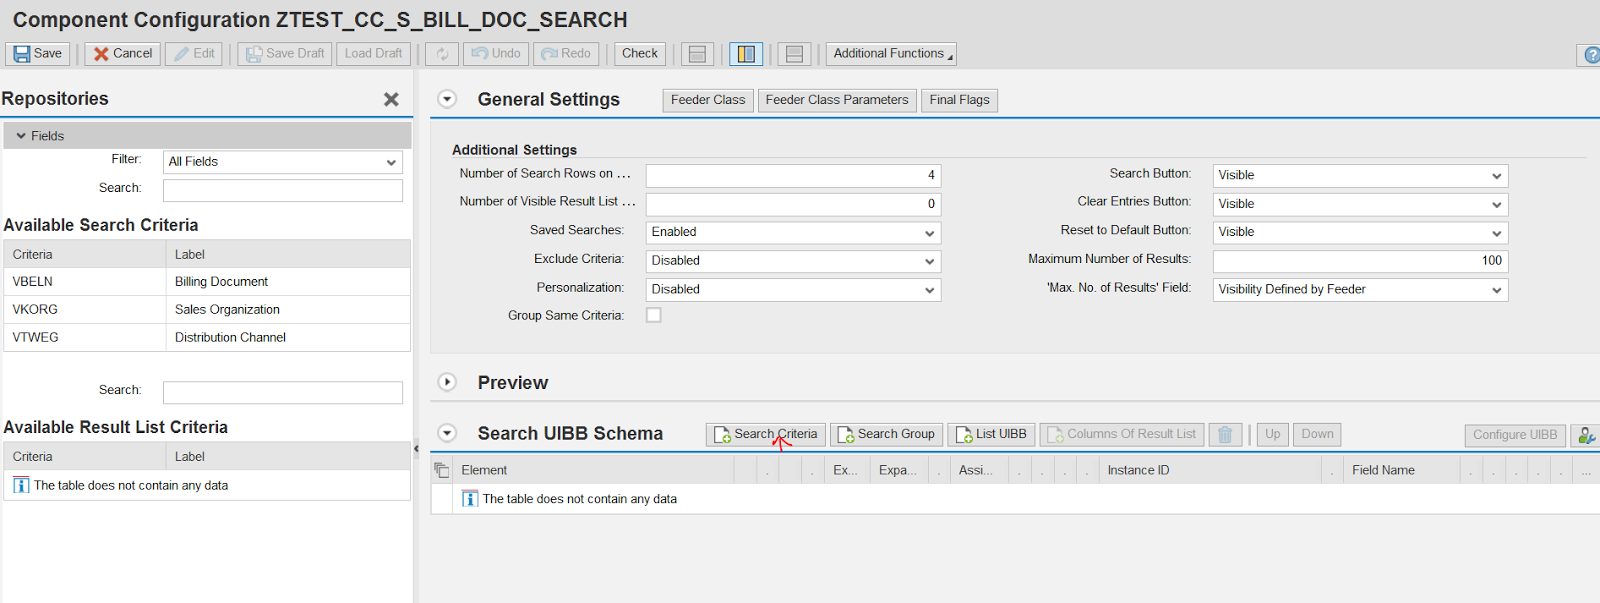
Step27. Save it.

Step28. Expand the Preview part. So we are done with the Search Component Configuration.

Step29. Now let's configure the List Display part. Go to the feeder class and open the method GET_DEFINITION. Provide the below code and activate the method.

Step30. Go to SE80 and open the web dynpro component: FPM_LIST_UIBB_ATS. Right click on the Component Configuration and click on Create.

Step31. The below screen appears.

Step32. provide a Configuration ID name and as it is not exists at last select Create button.

Step33. Provide the description and Ok.

Step34. Save it.

Step35. It will ask for the Feeder class.

Step36. Provide the pre created feeder class name and then select Edit Parameters.

Step37. Select OK.

Step38. The below screen appears and here in the left side all display list fields available which is provided in the feeder class GET_DEFINITION method. Click on Column button.

Step39. Select all the fields and select OK.

Step40. Save it. Expand Preview Option. So we have completed List Component Configuration.

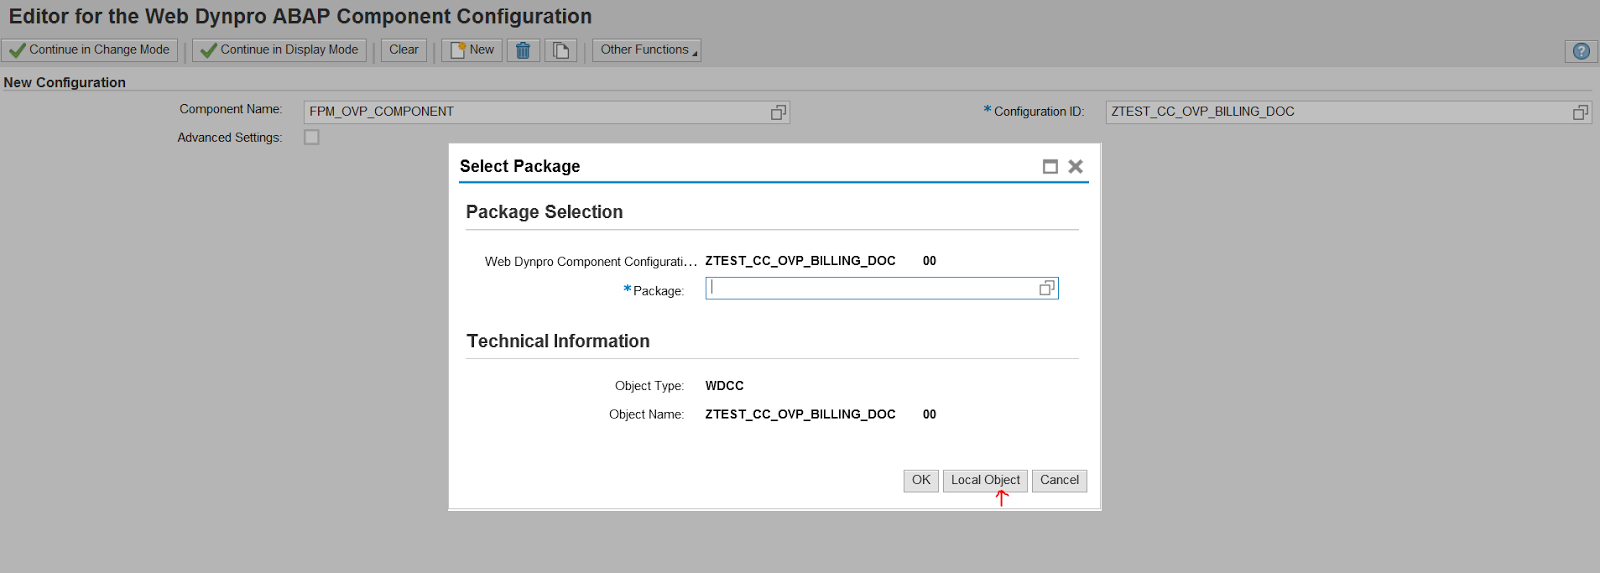
Step41. Now go to - SE80 and open the Web Dynpro Component: FPM_OVP_COMPONENT.
here we will create a component configuration first and then an application. Right click on the Component Configuration and click on Create.

Step42. The below screen appears.

Step43. Provide the configuration name and hit Enter. As it is not yet created, click on New button to create.

Step44. Provide a description and then OK.

Step45. Save in local package.
Step46. The below screen appears.

Step47. Change the page title, provide the Explanation Text and select Section_1.

Step48. Under Overview Page Schema: Select the Section: SECTION_1.

Step50. From the UIBB, option select Search Component.

Step51. The below screen appears.
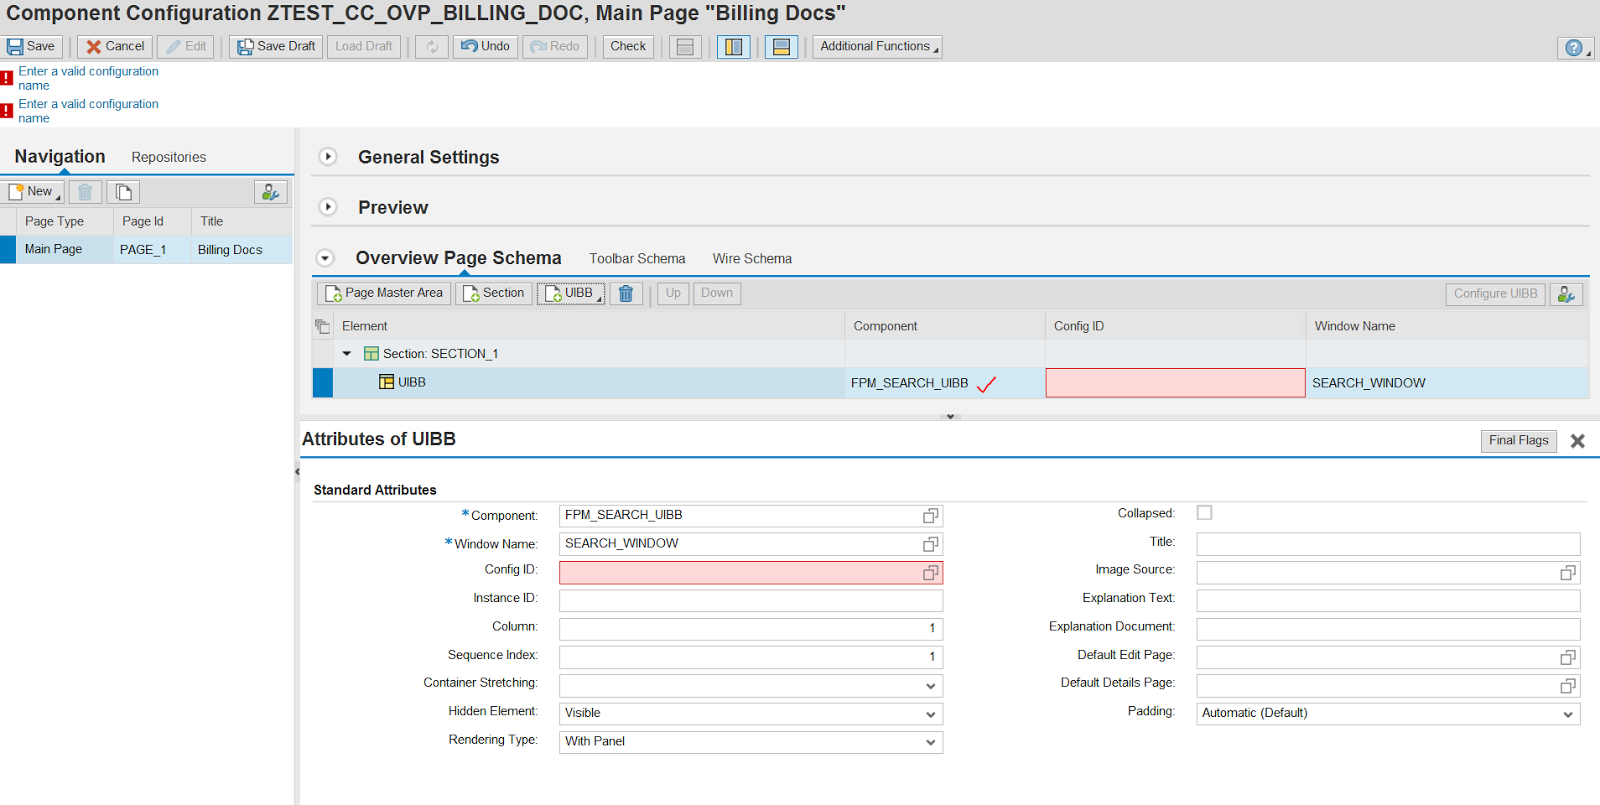
Step52. Provide our pre created Search UIBB Configuration ID and press Enter. Then Select the row and click on Configure UIBB button.

Step53. The below screen appears. To go back click on the marked link.

Step54. Now to add the List UIBB, From the drop down List Component.

Step55. The below screen appears.

Step56. provide our pre step created List UIBB component Configuration name and select the row and click on Configure UIBB button.

Step57. So we are in our LITS UIBB configuration screen . To go back click on the marked Link.

Step58. Save the OVP component configuration.

Step60. Expand preview option.

Step61. So we are done with the OVP component configuration where we have added our search uibb component configuration and list uibb component configuration. Now let's create an OVP application.

Step62. Provide a name, description and Continue.

Step63. The below screen appears.

Step64. provide the values from theh F4 help and save it. Expand the application.

Step65. Select the application and right click on it to Create the application configuration.

Step66. The below screen appears.

Step67. Provide a configuration ID name and Enter. As it is not yet created select New button.

Step68. Provide description and OK.

Step69. Save in package.
Step70. Click on the assign Configuration Name button.

Step71. The below screen appears.

Step72. Provide our pre created Component Configuration name and OK.

Step73. Save it. Click on the configuration name link.

Step74. So we reached the previously configured screen with the search UIBB & List UIBB. Go back by selecting the marked link.

Step75. Save it. close the screen.

Step76. In SE80, open the pre step created application configuration and click on the test button.

Step77. So here the needed screen appeared. But if you provide some search criteria and click on the search button, nothing would be displayed. The search button is a standard button on click it triggers an event.

Step78. Go to the feeder class of the search UIBB and open the Process_event method. All the search parameter provides in the search screen it would be available in IT_FPM_SEACRH_CRITERIA internal table as an importing parameter to this method. Set all the search parameters to the event data and at last trigger the LIST_FILTER which would be handled in the list uibb feeder class PROCESS_EVENT method.

Step79. Prepare some range table type for the three fields of the search structure.


Step80. Add a global parameter in the list feeder class. We have to fill the select data into this global internal table.

Step81. In the process event method of the list feeder class handle the event which is raised in the process event of the search uibb feeder class. Read the search criteria values and convert into range table and have a select query on the table and fill the global internal table.

Step82. Go to the GET_DATA method of the list uibb feeder class and pass the global internal table which contains the search results to CT_DATA so that the result records will appear on the UI screen.

Step83. Provide Search.

Step84. So the list table is filled with records from VBRK table.

Step85. provide maximum number of records as 2 and hit ENTER key or Search button. Only 2 lines appear in the list.

Step86. provide a billing doc number and search. It appears on the result list.

-------------------------------------------------------------------
1 comment:
thanks a lot for your share work... ;)
Post a Comment